Flat Uzun Gölgeler: Adım Adım Yapılışı, Kaynaklar ve Örnekler
Within the flat design trend on the rise at the moment, especially in this world of the web, one thing that stands out is the use of long flat shadows, particularly for small UI elements and icons. These shadows have a characteristic 45º angle below the horizontal axis and a gradient color close to the background shade can be applied.
This technique is by no means new. It has always been a widely-used resource in photography to emphasize shapes and transmit different emotions to the viewer.
Illustrator'da uzun gölge yapma
We'll show you two different ways to achieve this long shadow finish with Adobe Illustrator. One uses the Pathfinder tool and the other uses the Blend Option.
Metot 1: Blend Tool
Adım 1. Create forms


To start with, we need to have the elements prepared: the icon element and the shape. Also, we need our choice of color palette in flat style. Here are some examples.
Step 2. Duplicate and move
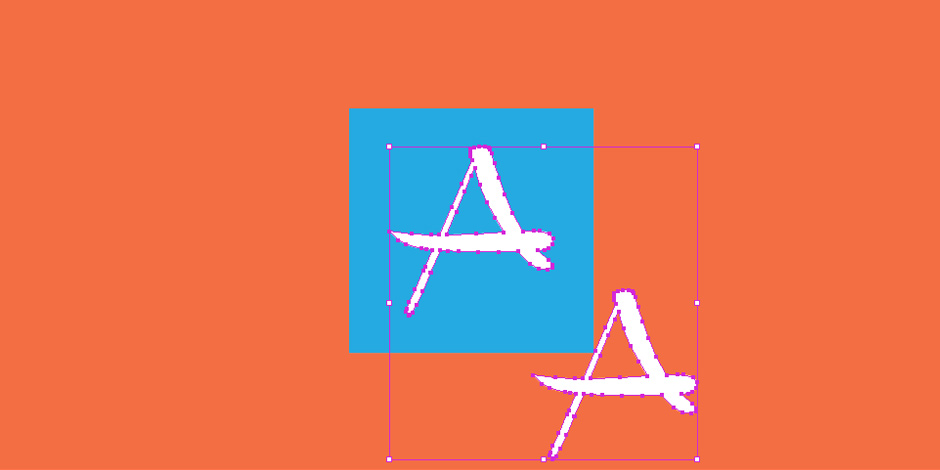
First we'll do the long shadow of the icon element. To do this, we need to duplicate the element, keeping the copy in the same position. Then we shift the same number of pixels on the +x or -x axis- depending where we want the shadow to point- and on the -y axis. (For example: x0=0 y0=0 > x1=+100 y1=-100)
This is how we achieve the characteristic 45º or 135º angle for our long shadow.
Step 3. Blend option
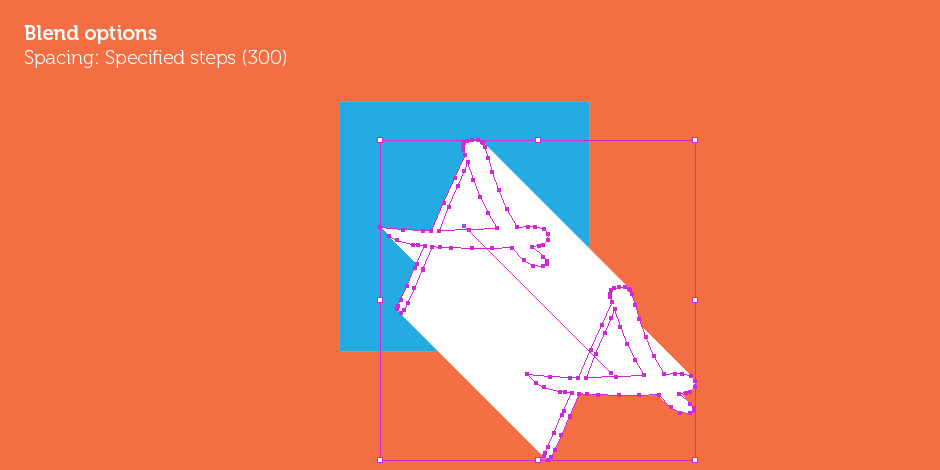
To get the shadow we'll use the Blend Option tool. If we select this tool and click on the two elements, we get a row of them in between the first and last.
One of the options with this tool is to specify a high number of specified steps to keep the separation between them to a minimum, until it's no longer visible to the naked eye.
Step 5. Change color. Gradient.
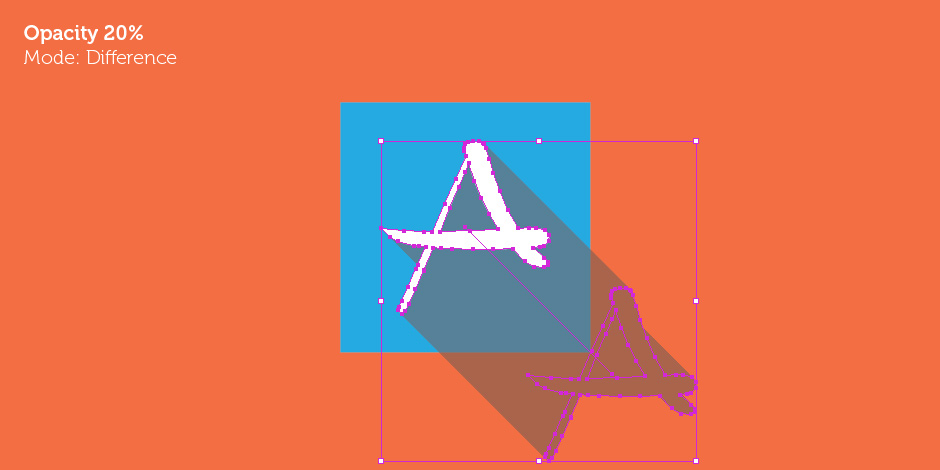
The result of the Blend option will be the long shadow. If we play with changing the color, opacity or the blending mode, we can get different effects. Applying a gradient is another valid and interesting option.
Step 6. Crop the shadow

Lastly, since we want to keep the look of the icon consistent, we want to crop the shadow to the shape of the icon or button. This is simple to do by duplicating the background shape, keeping it in the same position on top of all the other elements, selecting them all and applying Make Clipping Mask
Final presentation

If we do the same with the background shape of the icon on top of the image background, we get an optimal result.
Method 2: Pathfinder
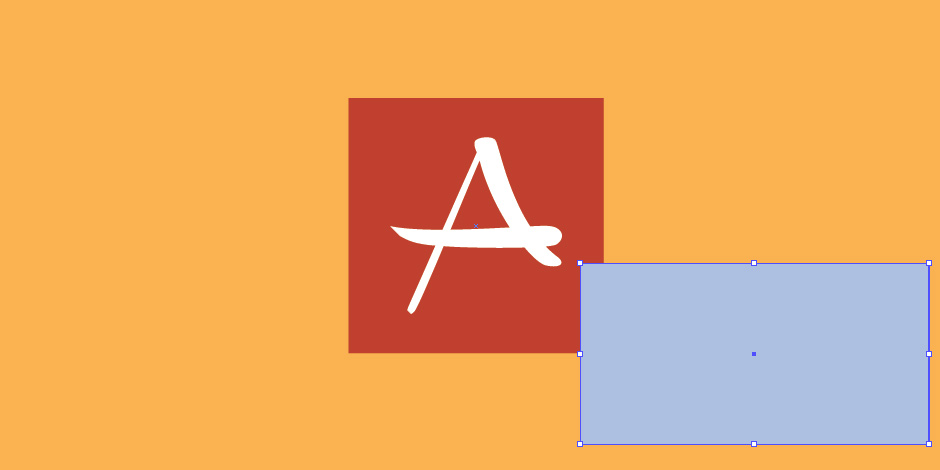
We can also build long shadows using the Pathfinder tool. This method may be slower but at the same time it gives the closest thing to a perfect result.
Step 1.
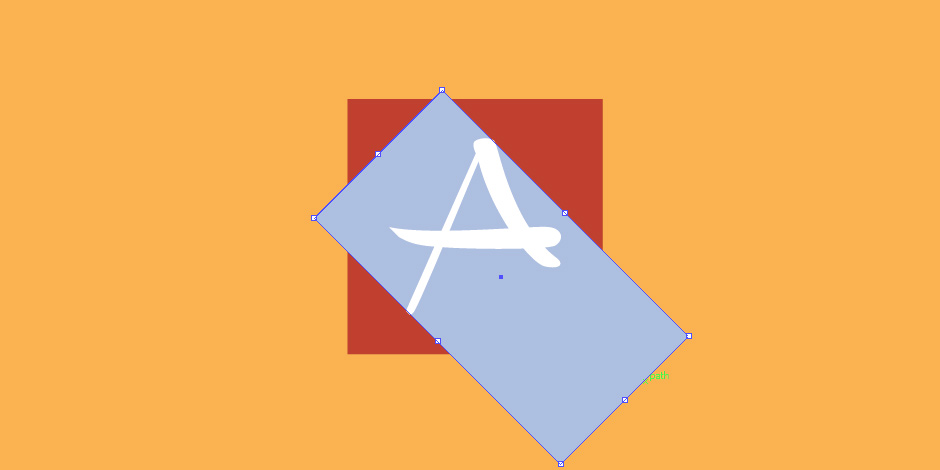
We create a rectangular figure the same height as the diameter of the icon element.
Step 2.
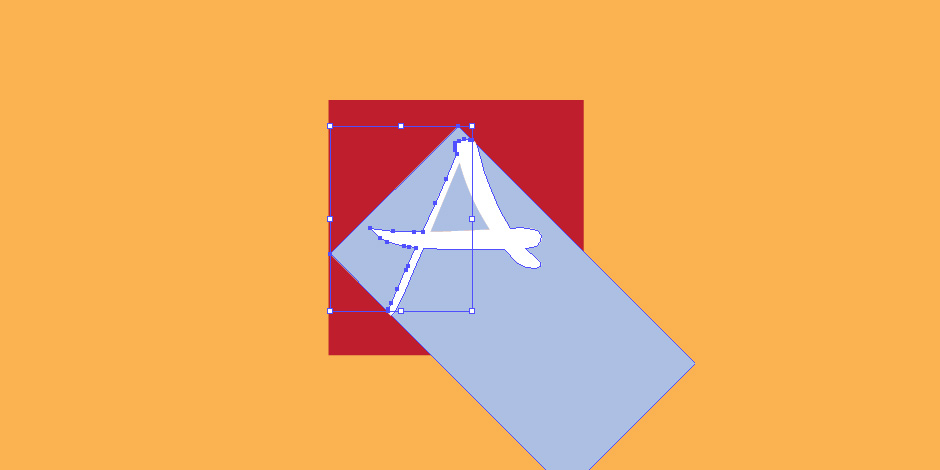

Resources
Photoshop Actions
Another very useful and effective option is to use a Photoshop action, and you're ready to go. We found some very cheap ones, and a free one by Dlacrem which is available for download.
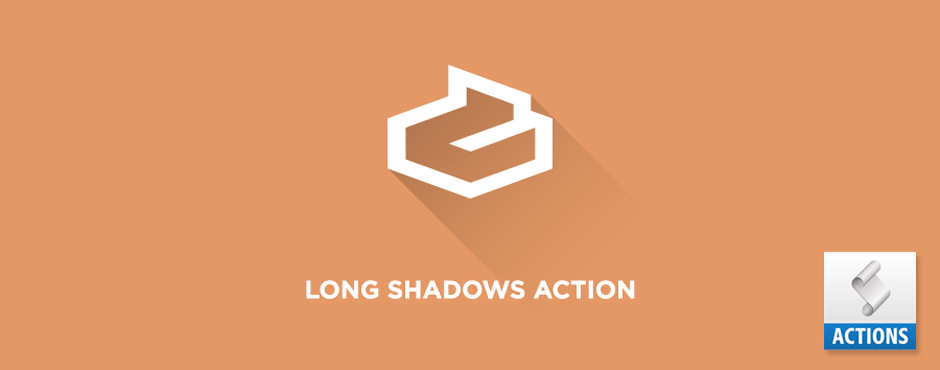 Long Shadows PS Action, by Dlacrem
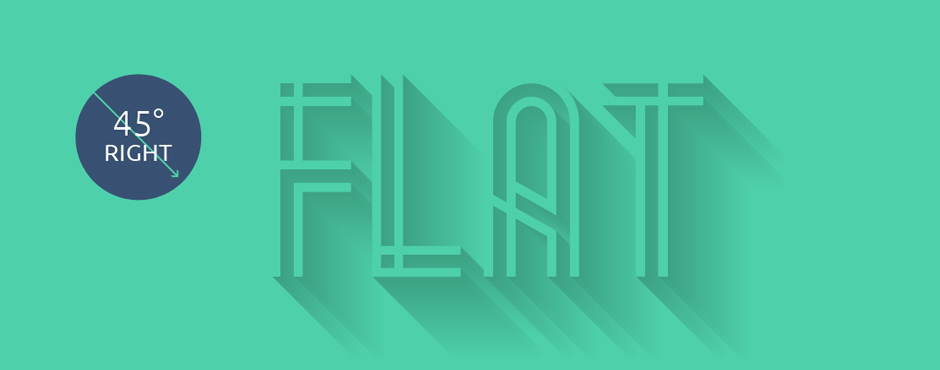 Long Shadow Generator, by Graphic Burger
CSS3 Long Shadow Effect
The new functionalities of CSS3 also allow us to create long shadows automatically for web. Here are two very interesting open-source links.
 Google Fonts CSS longshade Icon, by CSS Deck
A Sass mixin that makes pulling off 'long shadow design' as easy as pie.
 Long Shadow Generator, by Codepen
Google Font flat long shadow icon in pure CSS. Created with love by @LukyVj, inspired by so many people and works over the internet
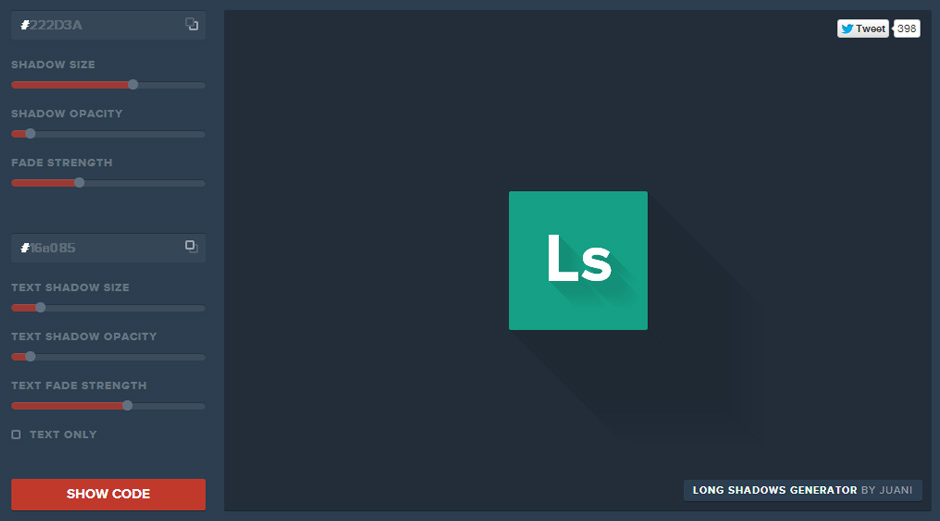 Long Shadows Generator, by @heyimjuani
Downloable Flat Long Shadow Social Icons Kit
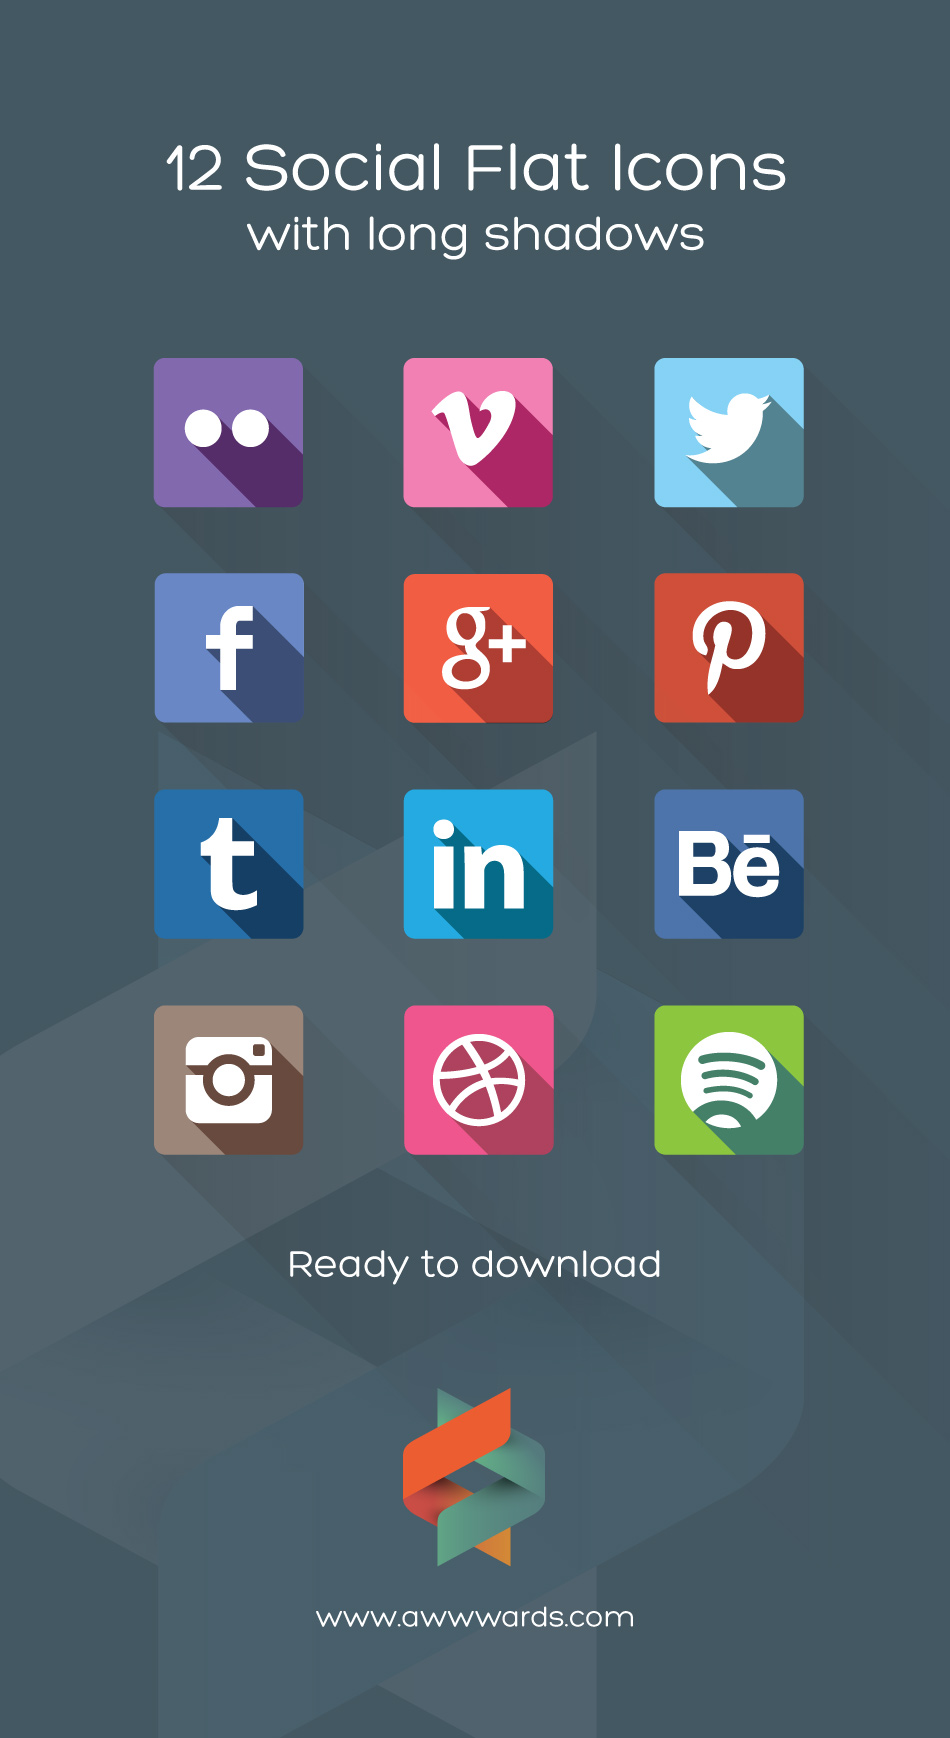
Examples
 Long Shadow Icons, by Georgi Davitaya


 Hexagon TW&FB with Long Shadow, by Suleiman Leadbitter
 Uuuuuuuuuuu, by Strahinja Todorović
Cinema4D
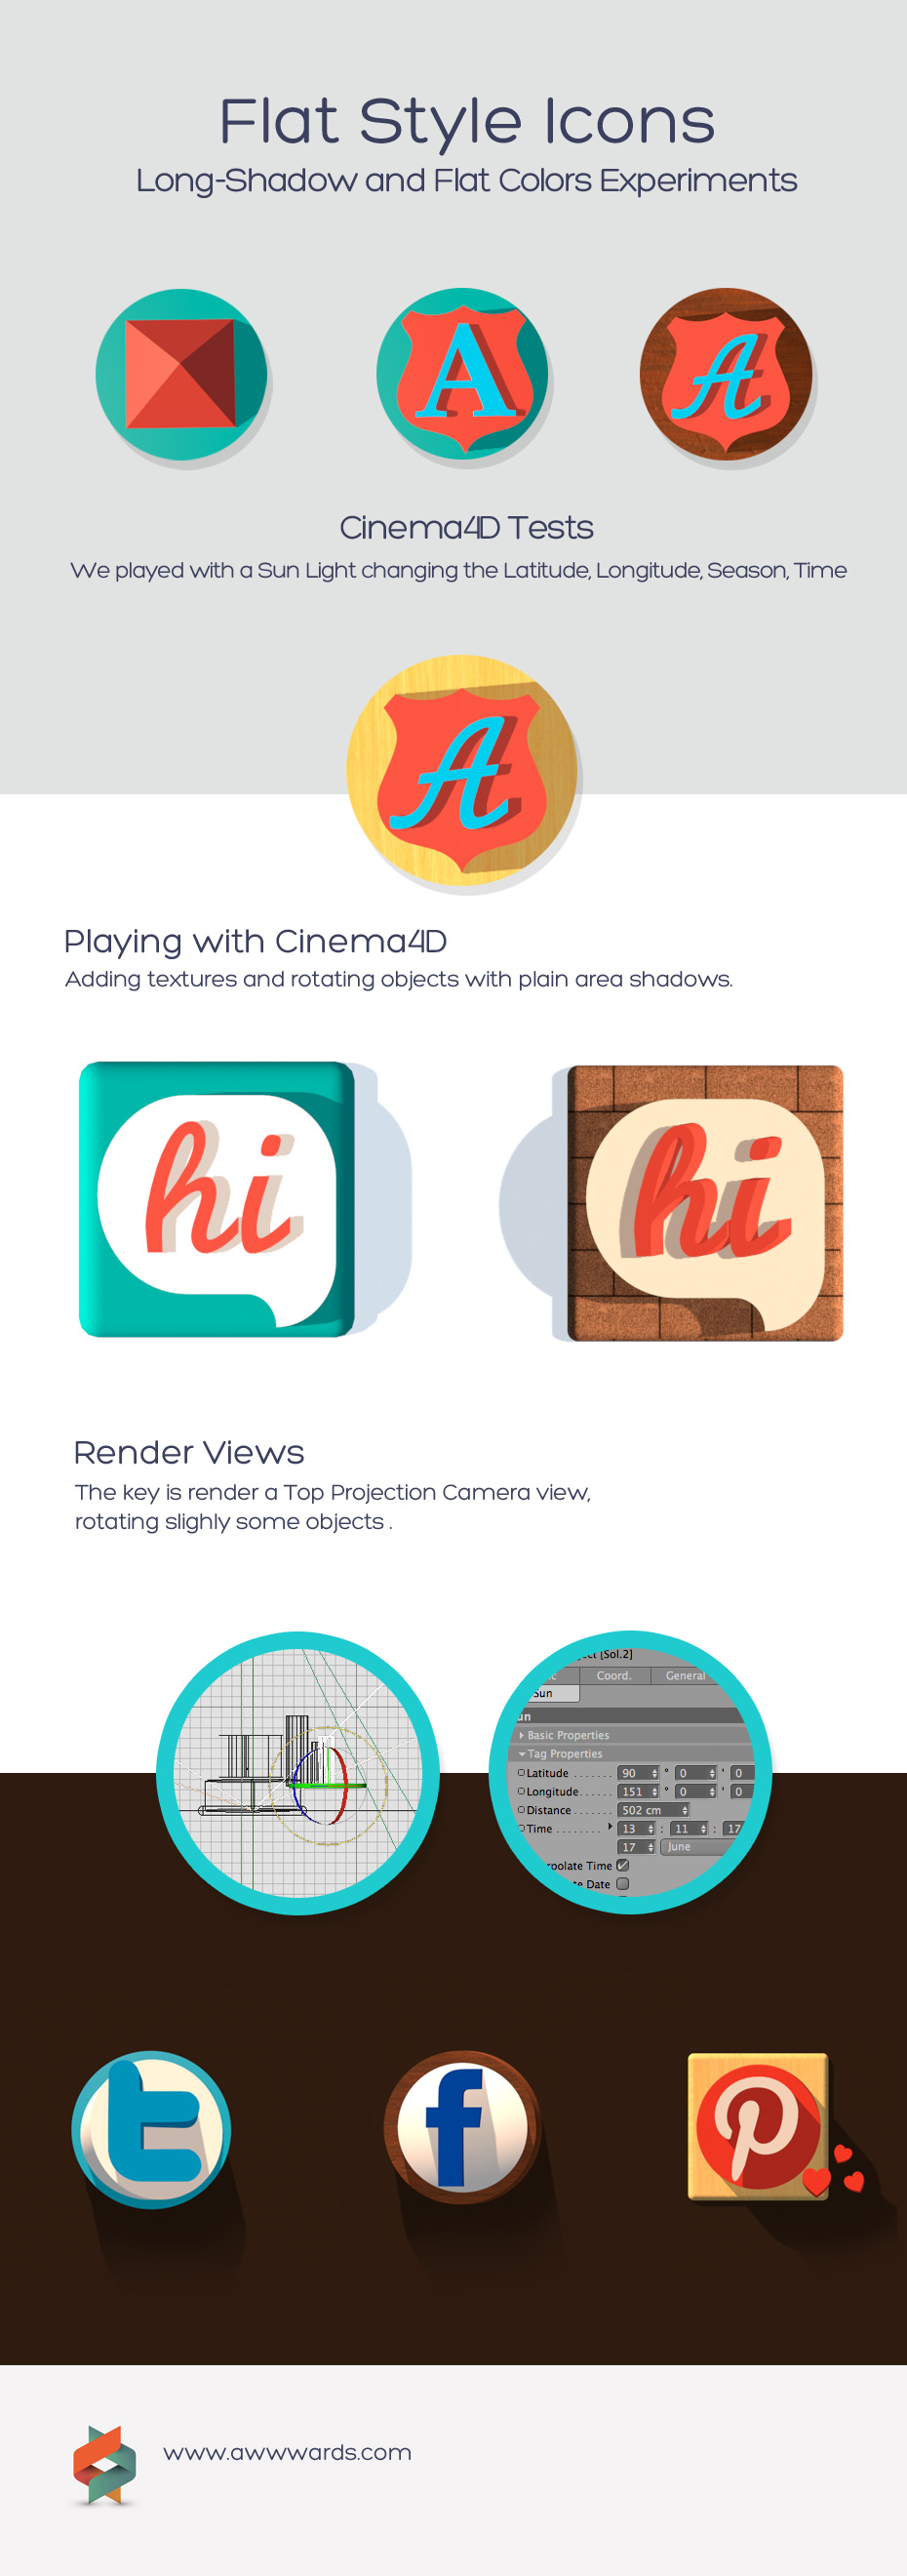
We can also produce this effect using 3D graphics software such as Cinema4D, 3Ds Max, Maya, etc. In this type of graphic environment we generally use light sources that simulate the sun at different times of the day or year. We can play with changing the time zone and season and see it turn orange or blue, varying the shade of ambient light. It also allows us to create the long shadow effect we're looking at today, and to control the volume of elements. Even though we're working in a 3D environment, we can achieve interesting effects with flat colors using a few tricks.
Soon we'll be publishing a tutorial on how to get this kind of effect in Cinema4D. Look out for it!
Sitemizde sizlere ilginç gelebileceğine inandığımız her konuda yazılar ve bilgiler paylaşıyoruz. Sitemizde bulabilecekleriniz şöyle:Otomobil,sağlık,blog,haber,backlink,site ekle,banner ekle,html kodlar,dizi,film,ilginç bloglar,blogger için temalar,internet için bilgiler,siyasi görüşler,anketler,yazılımlar,ilginç siteler,ilginç insanlar,mesleklerle ilgili ayrıntılar,forumlar,fikir paylaşımları,yorumlar


Yorum Gönder